PART 2 : Add custom create object web page
Tasks in this chapter
- Create a web form for type Dictionary
- Create a new command to open a create page
- Add / Create a dictionary menu with new commands to Actions menu
Disclaimer :
This document only reflects personal experience and is not an official documentation.
All product and company names are trademarks of their respective owners.
Introduction
With page emxCreate.JSP ENOVIA V6 provides an easy to use creation page for new objects.
In our example we like to have a customized web page and pass the form to the emxCreate.JSP through a command from the 'Action Menu'.
Create a WebForm for type 'Dictionary' in Business
Name : type_Dictionary
Type : Select 'Dictionary'
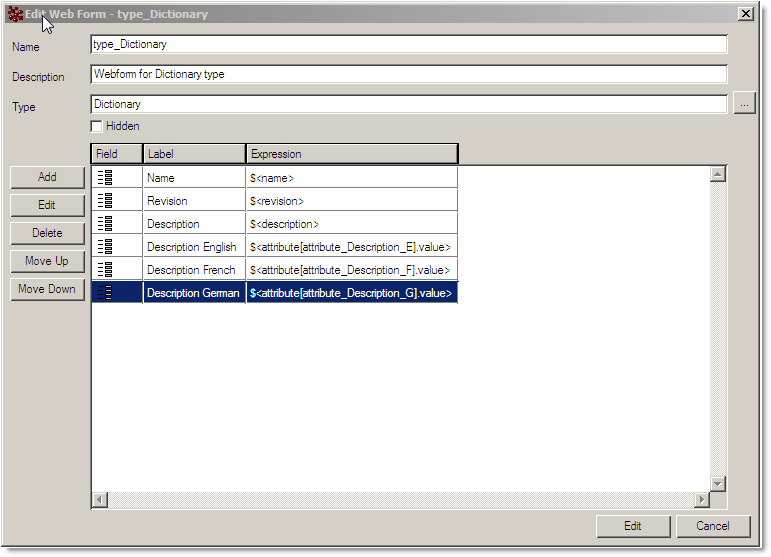
Add Basic - Attributes
name, revision and description
and the three advanced attributes for English, French and German.
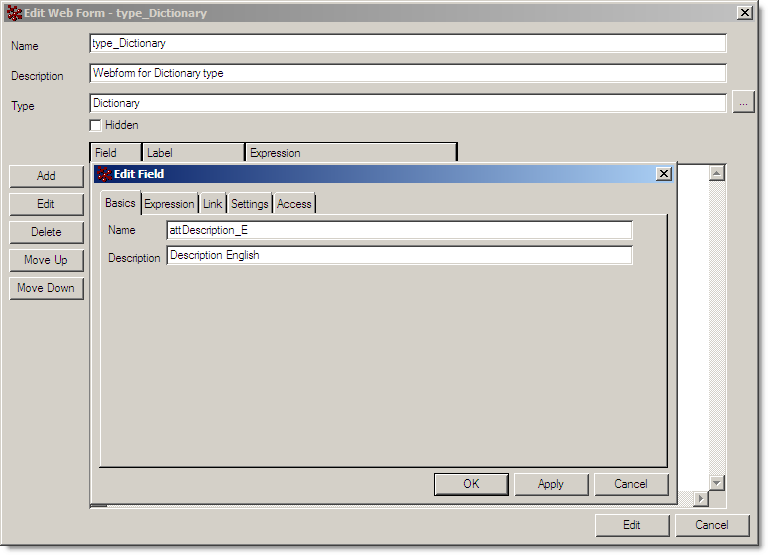
For later use in customized search it is important to give the field an appropriate name without empty characters, e.g. name the attribute fields as followed :
attDescription_E; attDescription_F and attDescription_G
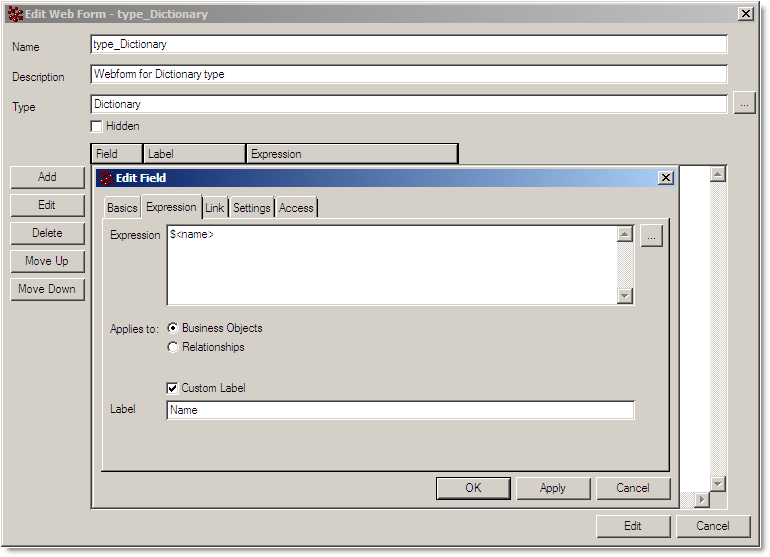
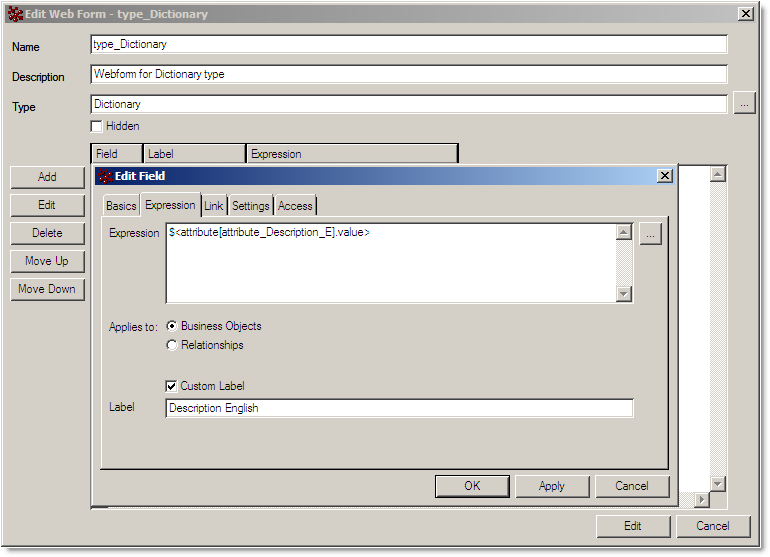
We use the corresponding attribute in the expression field like
$<attribute[attribute_Description_E].value>
After adding all needed attributes we'll have a list like
The appropriate settings for the fields are documented on page:
{Documentation Installdirectory}/B211doc/English/DteDevMap/dte-dev-r-form-fieldsettings.htm#dte-dev-r-form-fieldsettings
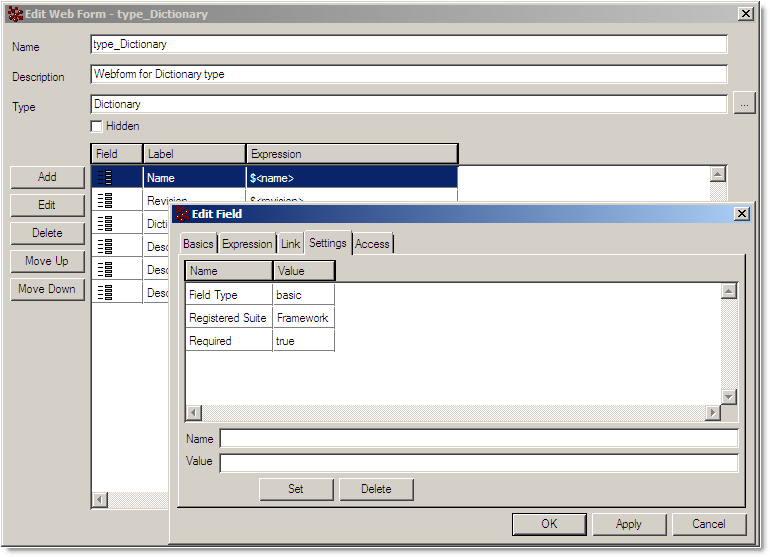
For this example we add 'Field Type' = 'basic' and 'Registered Suite' = 'Framework' to the attributes Name, Revision and Description.
For 'Name' we also set 'Required' = 'true'
The 'Description_{x}' attributes are set with 'Field Type' = 'attribute'
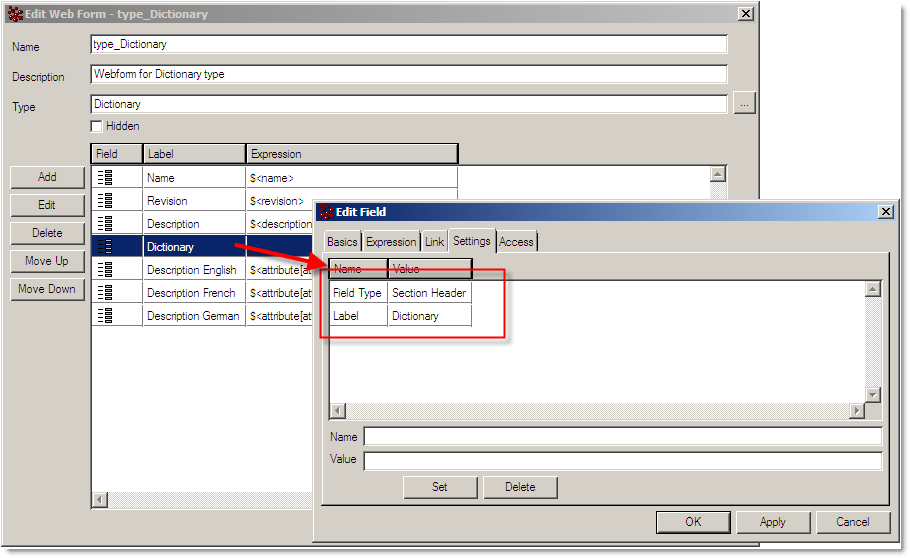
To group the WebForm in a simple manner, we can use the 'Field Type' = 'Section Header' and define the 'Label' for the section.
See the documentation for sectioning:
{Documentation Installdirectory}/B211doc/English/DteDevMap/dte-dev-c-formfield-sectionheader.htm#dte-dev-c-formfield-sectionheader
or for enhanced grouping of attributes with tables:
{Documentation Installdirectory}/B211doc/English/DteDevMap/dte-dev-c-formfield-group.htm
Add a 'Create New Dictionary' Command
The 'emxCreate.jsp' is powerful and has a lot of parameters and possible combinations of them. All parameters are described on documentation page:
{Documentation Installdirectory}/B211doc/English/DteDevMap/dte-dev-r-createform-urlparameters.htm
In our example we only take a look to some of the parameter.
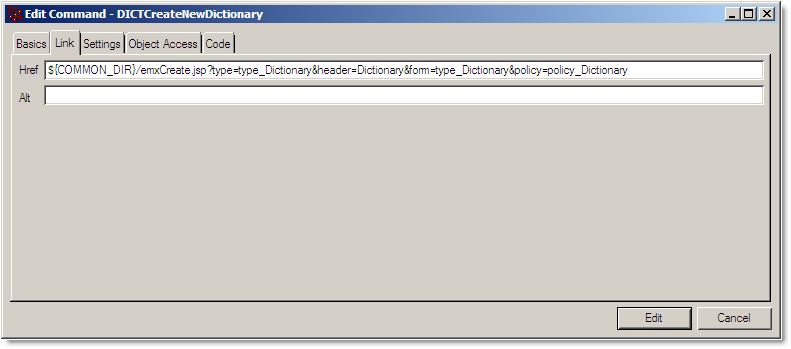
To start the JSP we create a new command and add "${COMMON_DIR}/emxCreate.jsp" to the Href value on Link tab.
When we provide the parameter 'form' with a value, we determine the webpage with settings for the user interaction.
With the 'type' parameter we pass a list of types to be selected by the user, or in our special case, only one type for fixed destination object type.
Also the 'policy' parameter assigns the policy to the type.
We can pass the parameters like :
emxCreate.jsp?type=type_Dictionary&header=Dictionary&form=type_Dictionary&policy=policy_Dictionary
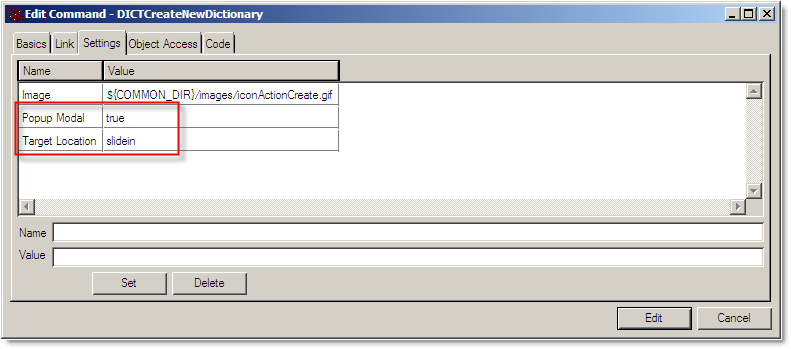
ENOVIA V6 provides a lot of settings for commands. See the complete description on page :
{Documentation Installdirectory}/B211doc/English/DteDevMap/dte-dev-r-toolbarlink-setting.htm?search=command+settings
In our case, we will set the 'Target Location' to 'Slide In' so that we open our creation page inside the main window.
Add Command to 'Actions' menu
ENOVIA V6 has several menus and it depends on you where you add functionality, but the 'Actions' menu seems to be a good choice for our 'New Dictionary' menu.
To group our Dictionary commands, we would like to have a new entry 'Dictionary' in the 'Actions' menu and add our commands below this group entry.
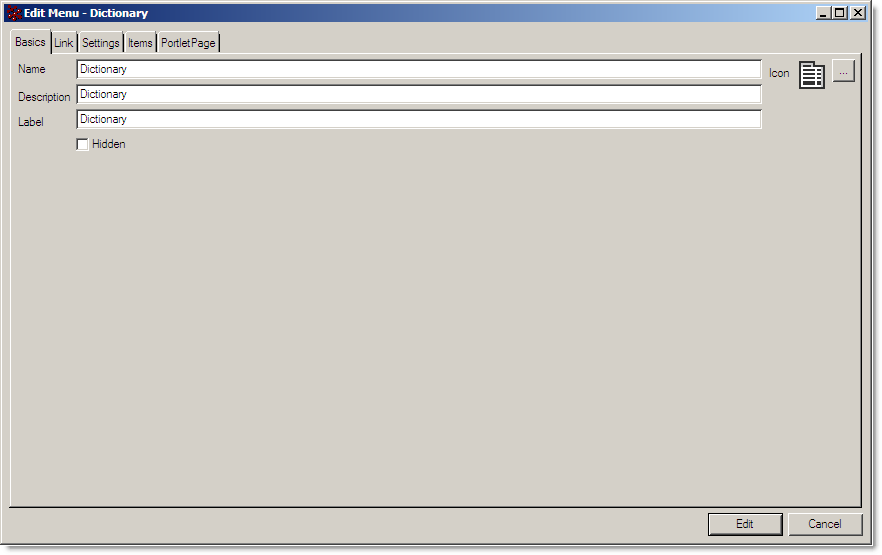
First we create our new menu 'Dictionary' in Business,
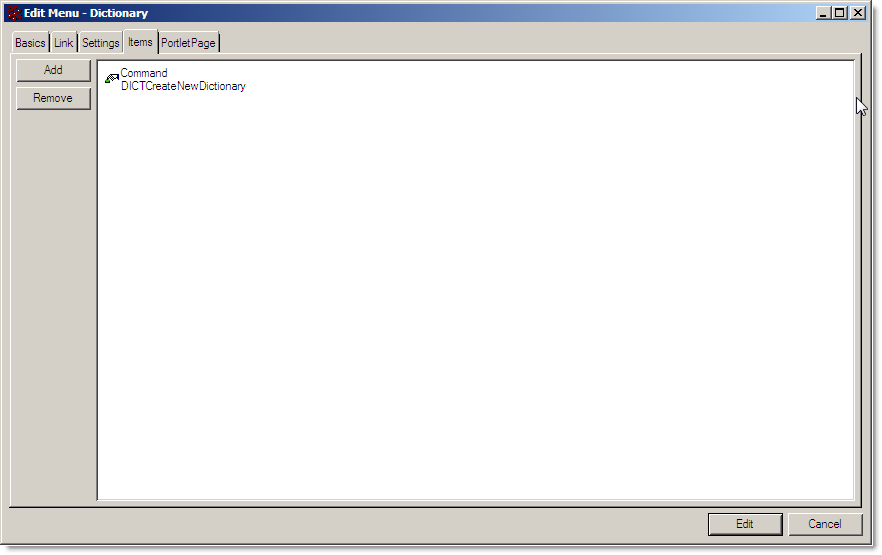
add the previously created command into the menu
and add the 'Dictionary' menu to the 'Actions' menu.
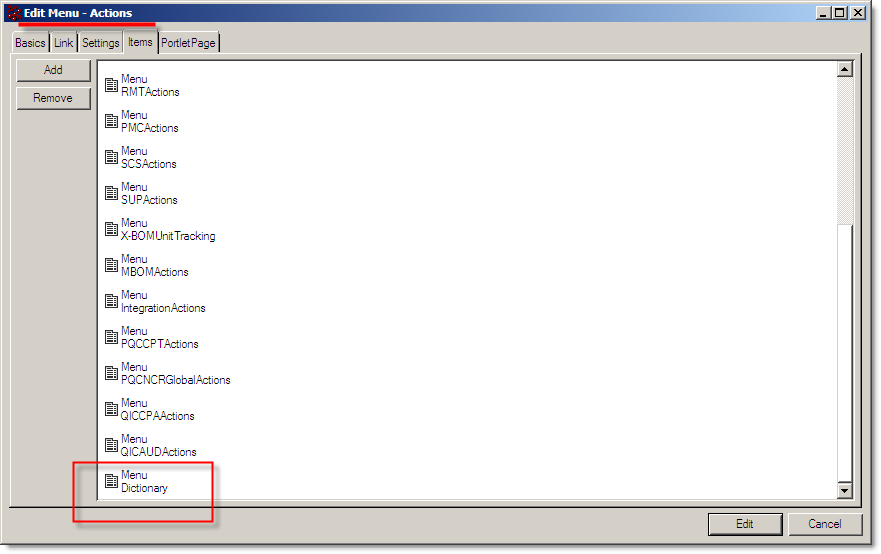
As a result we see the extended Actions menu in ENOVIA V6
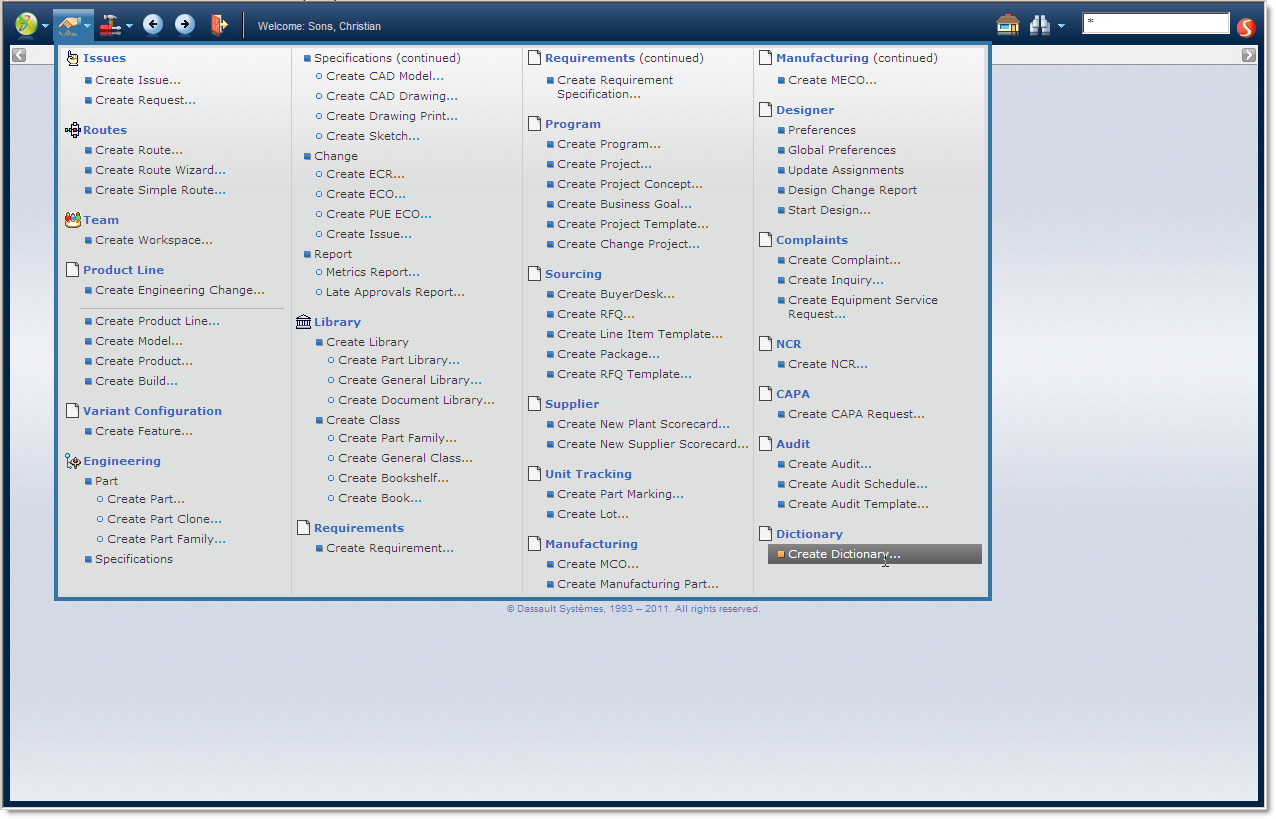
and the 'Create Dictionary' command will open the creation page
Conclusion
With 3 easy to use objects we were able to create a customized create object process.
- Customized web form for specific types
- Provide selective attributes to the emxCreate.jsp page
- Compose practical menus
Next
In the next post we will learn how to use autonaming with one or more sequences.
MQL to create the Objects
# Add web form Dictionary.
#
add form type_Dictionary web
description "Webform for Dictionary type"
type Dictionary
field name "Name" label "Name" select "$<name>"
setting "Field Type" "basic"
setting "Registered Suite" "Framework"
setting "Required" "true"
field name "Revision" label "Revision" select "$<revision>"
setting "Field Type" "basic"
setting "Registered Suite" "Framework"
field name "Description" label "Description" select "$<description>"
setting "Field Type" "basic"
setting "Registered Suite" "Framework"
field name "Dictionary" label "Dictionary"
setting "Field Type" "Section Header"
setting "Label" "Dictionary"
field name "attDescription_E" label "Description English" select "$<attribute[attribute_Description_E].value>"
setting "Field Type" "attribute"
field name "attDescription_F" label "Description French" select "$<attribute[attribute_Description_F].value>"
setting "Field Type" "attribute"
field name "attDescription_G" label "Description German" select "$<attribute[attribute_Description_G].value>"
setting "Field Type" "attribute";
# Add command DICTCreateNewDictionary.
#
add command DICTCreateNewDictionary
description "Create a new Dictionary"
label "Create Dictionary"
href ${COMMON_DIR}/emxCreate.jsp?type=type_Dictionary&header=Dictionary&form=type_Dictionary&policy=policy_Dictionary
setting Image ${COMMON_DIR}/images/iconActionCreate.gif
setting "Popup Modal" true
setting "Target Location" slidein
user all;
# Add menu Dictionary.
#
add menu Dictionary
description Dictionary
label Dictionary;
# Add symbolic name
# tcl;
proc RegisterSymbolicName {WHAT ORIGINALNAME} {
set SYMBOLICNAME [string map {" " ""} $ORIGINALNAME]
set INSTALLDATE [clock format [clock seconds] -format %D]
mql add property ${WHAT}_$SYMBOLICNAME on program eServiceSchemaVariableMapping.tcl to $WHAT "$ORIGINALNAME"
mql add property application on $WHAT "$ORIGINALNAME" value "Dictionary"
mql add property version on $WHAT "$ORIGINALNAME" value "1-0"
mql add property installer on $WHAT "$ORIGINALNAME" value "instDictionary"
mql add property "installed date" on $WHAT "$ORIGINALNAME" value "$INSTALLDATE"
mql add property "original name" on $WHAT "$ORIGINALNAME" value "$ORIGINALNAME"
}
RegisterSymbolicName form "type_Dictionary"
RegisterSymbolicName command "DICTCreateNewDictionary"
RegisterSymbolicName menu "Dictionary"
exit
# Add command to menu Dictionary.
#
modify menu Dictionary
add command DICTCreateNewDictionary;
# Add menu Dictionary to Actions menu
#
modify menu Actions
add menu Dictionary;